

Hello everyone...✨
Hello to my dear Hivers and the dear community of artists #HiveDIY, as always very pleased and excited to be here again, showing you my work made with love and especially for you.
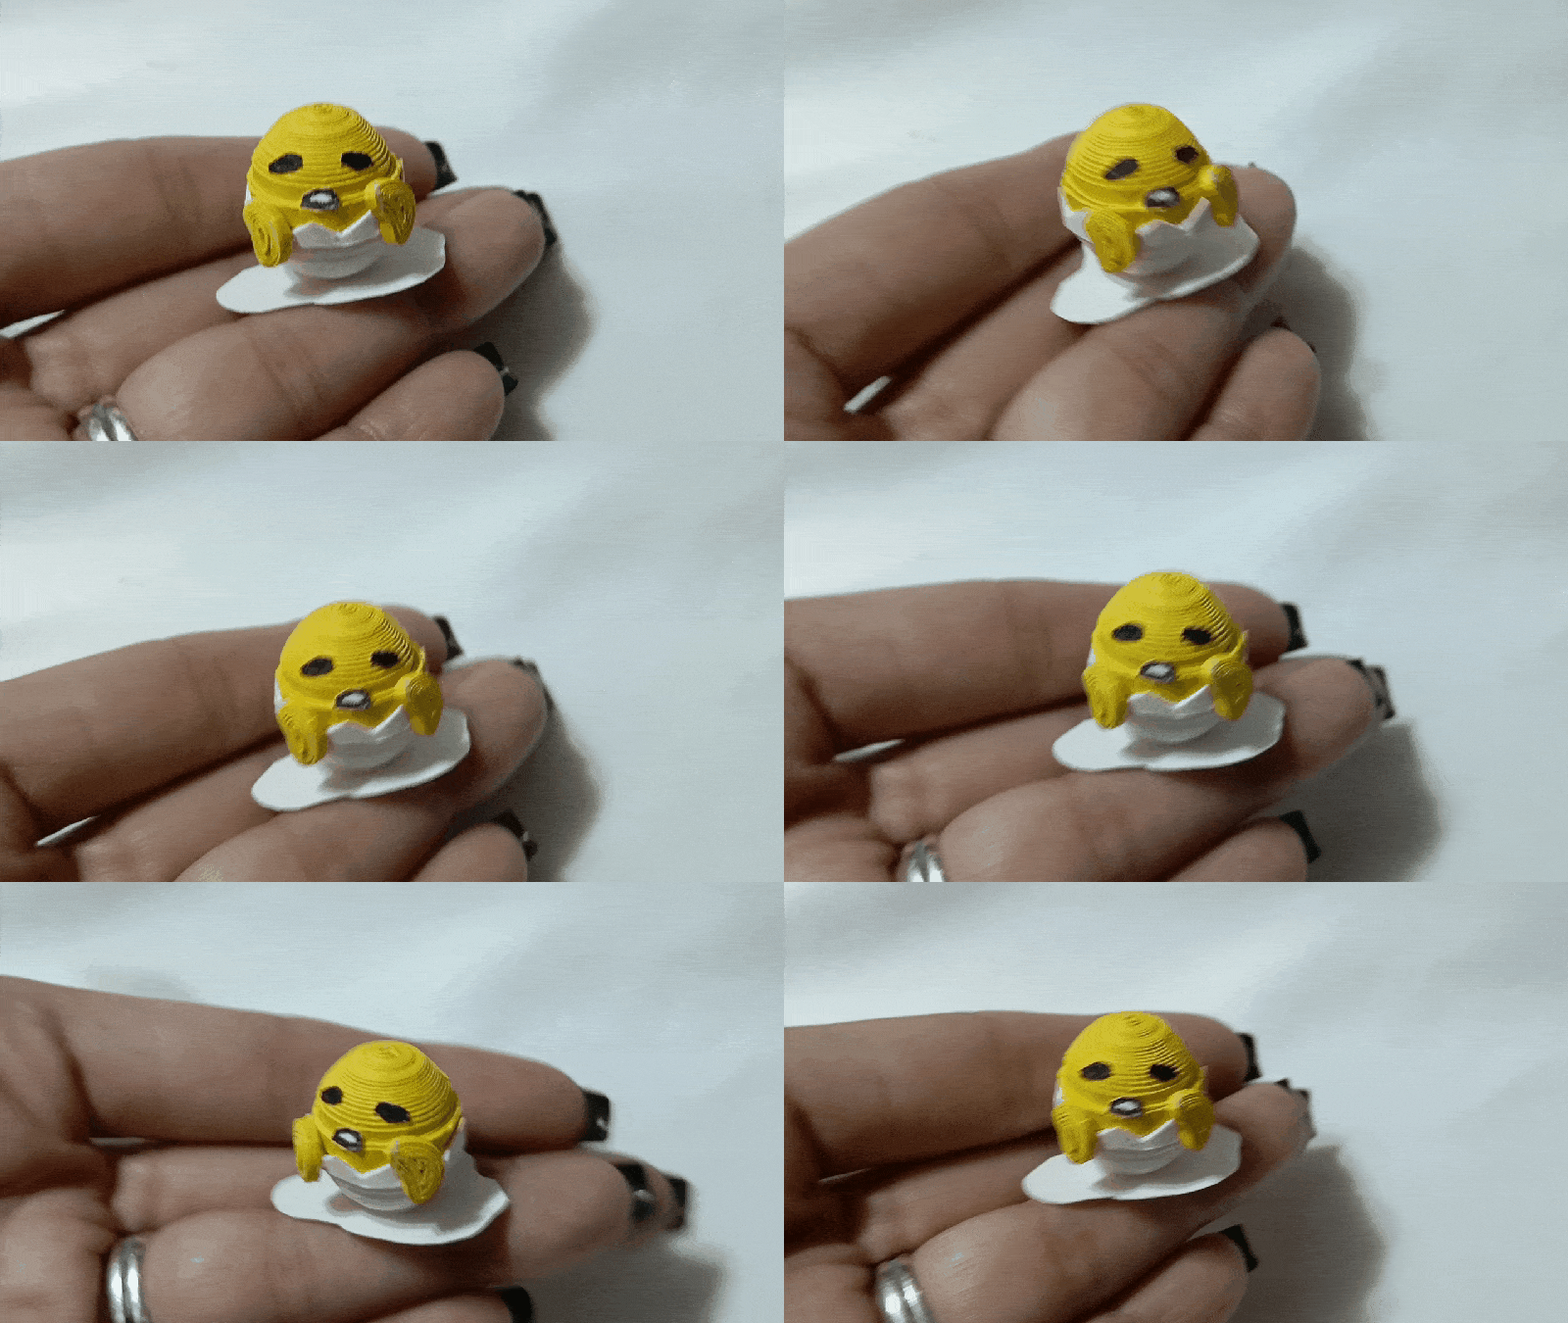
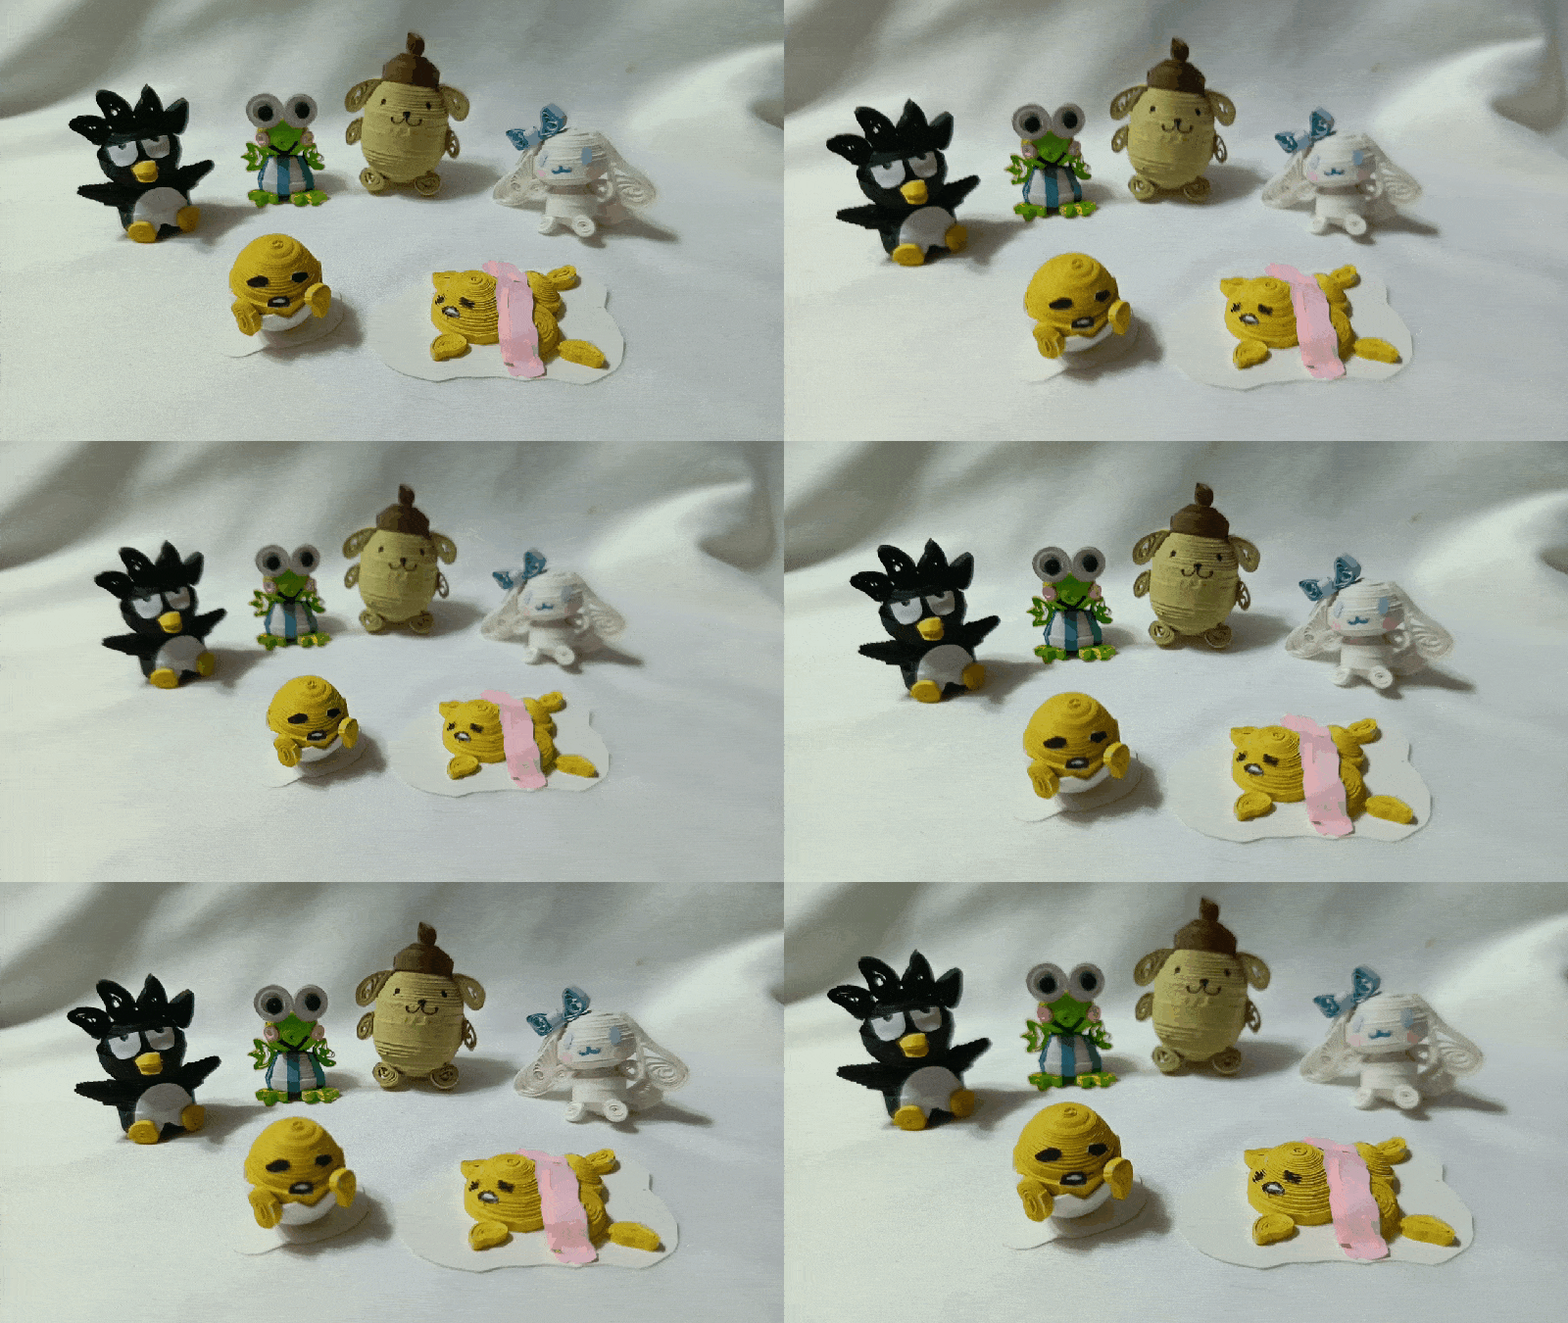
For some time I have been making a collection of SANRIO characters, this time I will make the little Gudetama, through a 3D decorative figure in the quilling technique.
Here are the other figures in case you are interested in building your own collection:
Keroppi:
Pompurin:
Cinnamoroll:
Badtz Maru:
#### ***Hoping you like it, I leave you my creative process:***
Let's get started:😃

Hola a Todos...✨
Hola a mis queridos Hivers y a la querida comunidad de artistas #HiveDIY, como siempre muy complacida y emocionada de encontrarme por acá nuevamente, mostrándole mi trabajo hecho con mucho amor y especialmente para ustedes.
Desde hace algún tiempo he venido realizando una coleccion de los personajes de SANRIO, en esta oportunidad realizaré al pequeño Gudetama, mediante una figura decorativa en 3D en la técnica de quilling.
Por acá les dejo las otras figuras por si están interesados en armar su propia colección:
Keroppi:
Pompurin:
Cinnamoroll:
Badtz Maru:
#### ***Esperando que sea de su agrado, les dejo mi proceso creativo:***
Comencemos:😃
 |
 |
 |

• Cartulina de color blanco y amarillo.
• Guillotina para cortar papel.
• Hoja blanca.
• Lápiz de color negro.
• Cintas de quilling.
• Aguja de quilling.
• Cono para moldear círculos.
• Pega blanca extra fuerte (de carpintería).
• Tijera.
-
White and yellow cardboard.
-
Guillotine to cut paper.
-
White sheet.
-
Black pencil.
-
Quilling ribbons.
-
Quilling needle.
-
Cone to mold circles.
-
Extra strong white glue (carpentry glue).
-
Scissors.

To make this work, I previously cut some quilling strips of different sizes of white and yellow cardboard with a guillotine, you can also do it with a scissors.
-
I started taking white quilling tape 3 mm wide and 5 mm respectively, I joined both tapes to form one, I rolled with the quilling needle starting with the 3 mm wide tape to finish with the 5 mm, seal with white glue out of the needle, then in a mold for circles placed in the measure number 17 mm, I took out of it applied a little glue on the inside and let it dry very well to prevent the piece from moving or deforming.
-
Once the piece was dry, I proceeded to cut around it with a scissors, making some peaks to form the half eggshell.

Para realizar este trabajo, corte previamente algunas tiras de quilling de diferentes medidas de cartulina blanca y amarilla con una guillotina, también pueden hacerlo con una tijera.
• Comencé tomando cinta para quilling de color blanco de 3 mm de ancho y 5 mm respectivamente, uni ambas cintas para formar una sola, enrollé con la aguja para quilling comenzando por la cinta de 3 mm de ancho hasta finalizar con la de 5 mm, selle con pega blanca saque de la aguja, luego en un molde para círculos coloque en la medida número 17 mm, saqué de la misma apliqué un poco de pega por la parte interna y dejé que se secara muy bien para evitar que se mueva o deforme la pieza.
• Una vez seca la pieza procedí a picar alrededor con una tijera, realizando algunos picos para formar la media cáscara de huevo.
 |  |  |
- Under the same parameters above we will make another closed circle but only with yellow tape 3 mm wide, once ready and molded we will put it on top of the other piece.
- To make the small arms carry out 2 open circles, which I molded as you can see in the image and glued from the center piece.
- With a black pencil I drew the eyes and the mouth on a white sheet of paper and glued them in their respective places.
- To finish I cut out of a white cardboard a small base all an irregular shape, and there I glued the finished piece.
In this way I finished this small decorative figure of Gudetama, in the quilling technique.

• Bajo los mismos parámetros anteriores vamos a realizar otro círculo cerrado pero solo con cinta amarilla de 3 mm de ancho, una vez listo y moldeado lo vamos a poner en la parte de arriba de la otra pieza.
• Para realizar los pequeños brazos lleve a cabo 2 círculos abiertos, los cuales moldee como pueden ver en la imagen y pegué de la pieza central.
• Con un lápiz de color negro llevé a cabo en una hoja blanca los ojos y la boca los Piqué y los pegué en el sitio respectivo.
• Para finalizar recorte de una cartulina blanca una pequeña base toda una forma irregular, y allí pegué la pieza terminada.
De esta manera finalice este pequeña figura decorativa de Gudetama , en la técnica de quilling.
 |  |
 |  |

|
 |
 |
 |
 |
 |
|
|
What did you think, did you like it?
I hope you did, I hope you liked my explanation, procedure and photos, I made them with love for you.
"Let out that muse that inspires you, and let your imagination fly".
Thank you all, see you next time ✨.
¿Que les pareció, les gustó?
Espero que sí, que les haya gustado mi explicación, procedimiento y fotos, los hice con mucho cariño por y para ustedes.
"Deja salir esa musa que te inspira, y deja volar tu imaginación".
Gracias a todos, nos vemos en la próxima✨

All photos used in this post are of my authorship and have been taken on my personal cell phone a Redmi 9T, edited in InShot and Canva
Banner and separator made by me in Canva
Translated with the help of DeepL
Todas las fotos usadas en este post son de mi autoría y han sido sacadas en mi celular personal un Redmi 9T, editadas en InShot y Canva
Banner y separador hecho por mí en Canva
Traducido con la ayuda de DeepL

Posted Using INLEO
